IPMI allows administrators to monitor, control, and manage hardware remotely—even when the server is powered off, the system has crashed, or the primary network interface is down—using the BMC (Baseboard Management Controller), a small embedded processor on the server's motherboard that runs independently of the main CPU.
In the following Guide you'll find a short introduction on how to use the IPMI interface.
1 Getting Started
In order to access IPMI, a wired Ethernet connection needs to be established on the Management-Port located on the rear panel. The port is either labeled "MGMT", "M" or simply "Management". All other ports will not work, as these are responsible for OS networking. After BMC is connected to a network, an IP address will be assigned automatically.
If your network does not have a DHCP-Server or if you would like to define an address manually, you can do so in the UEFI BIOS-Setup.
1.1 Configuring BMC network
If your network does not have a DHCP-Server to dynamically assign IPs
After system power on, repeatedly press the delete key to enter UEFI BIOS-Setup.
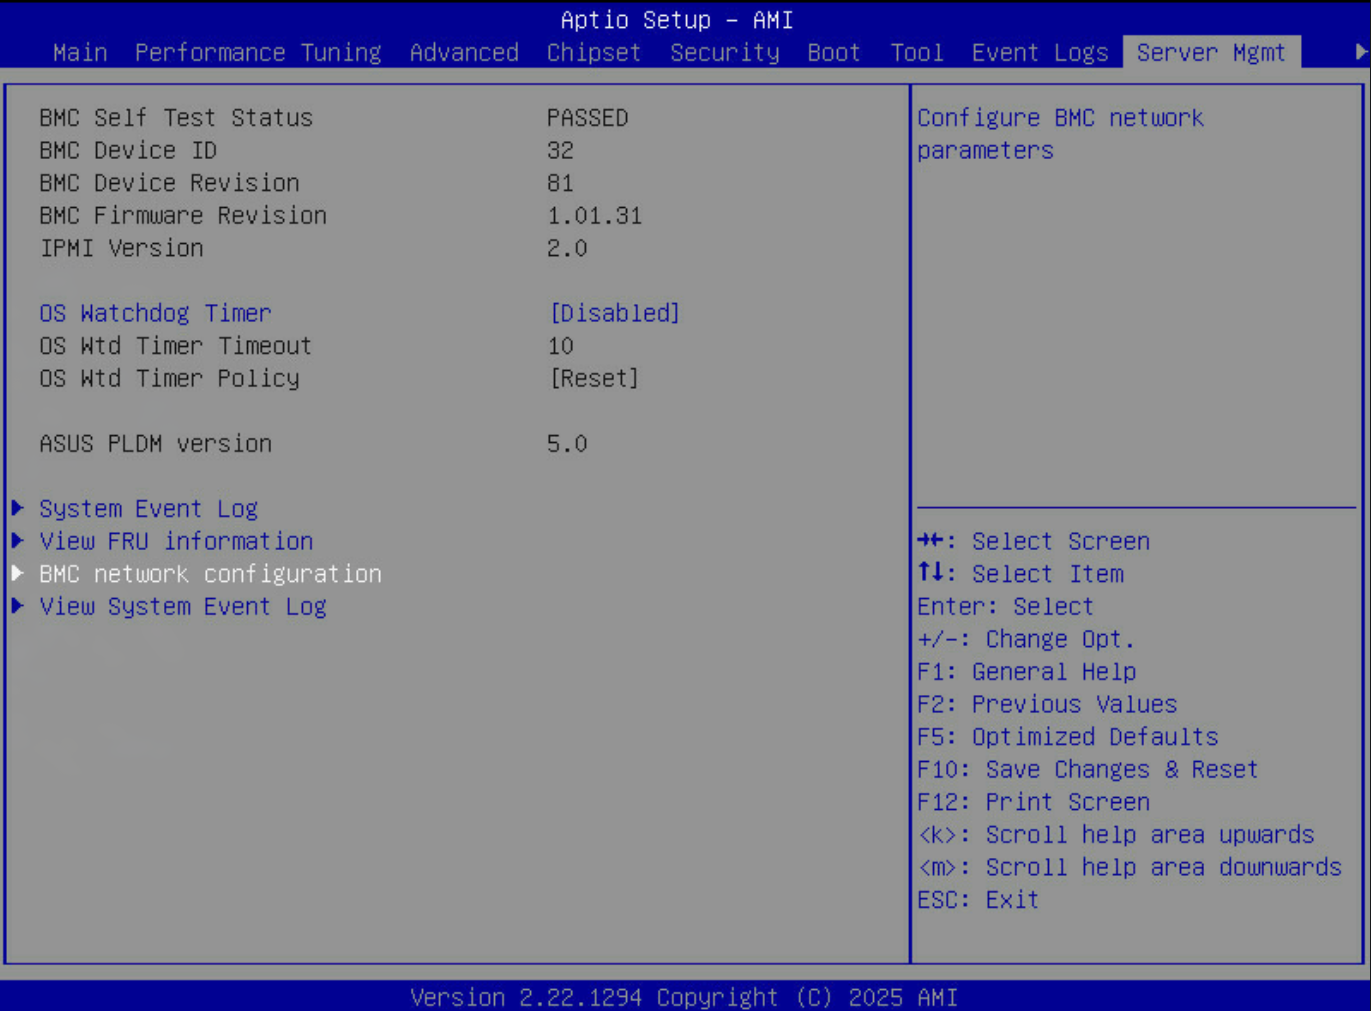
Navigate to "Server Mgmt" > "BMC network configuration"
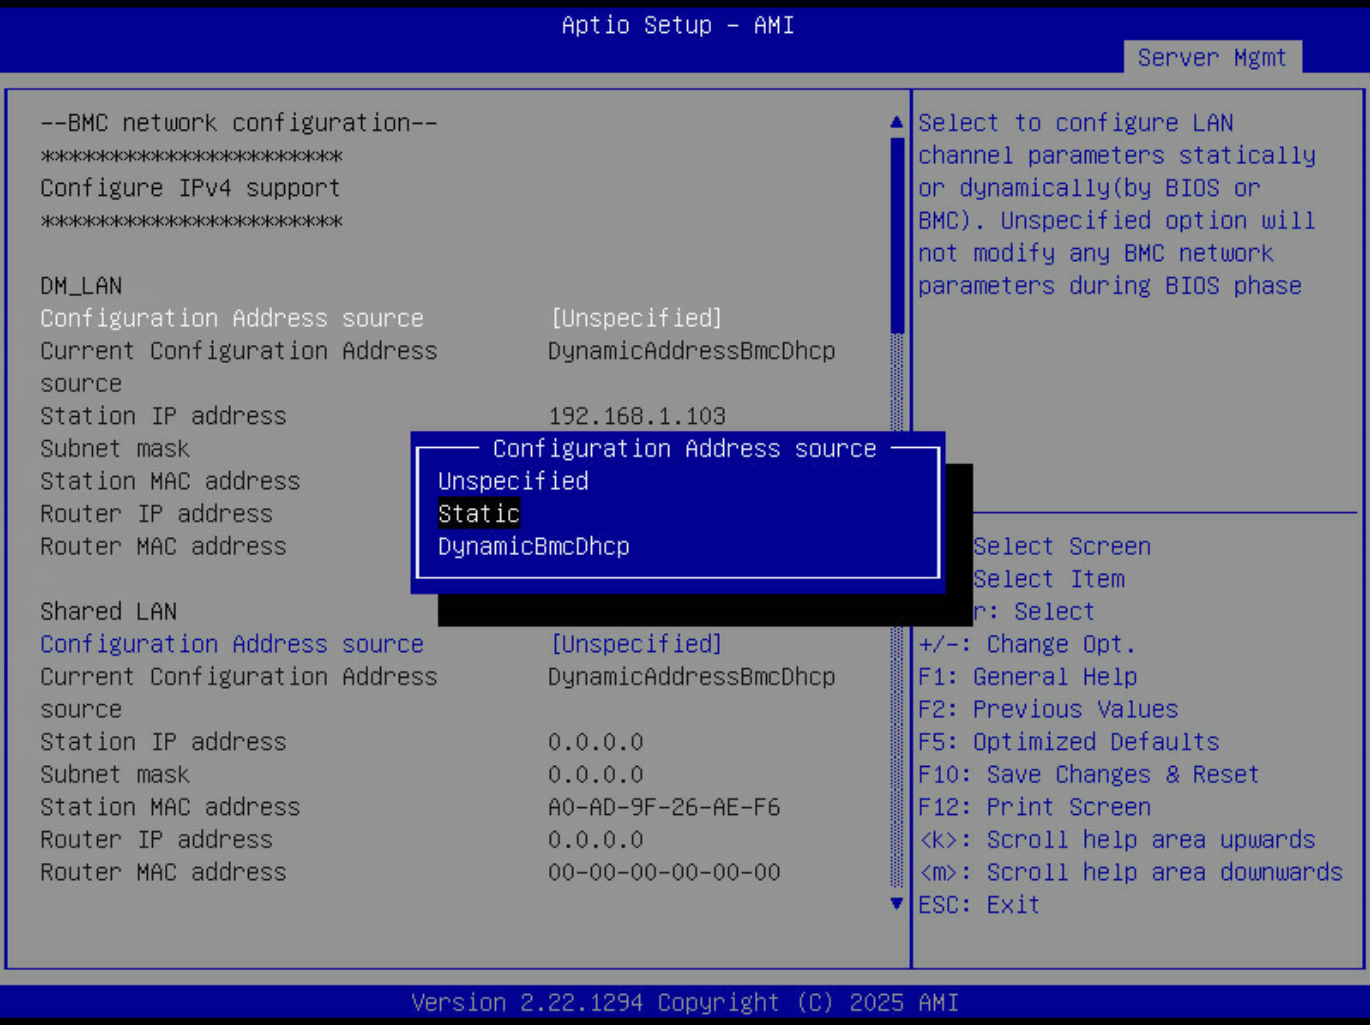
Navigate to "Configuration Address source" and specify whether to obtain an IP dynamically or define a static one:
The BMC IP will be displayed before boot, in the lower right corner of the screen:

1.2 Accessing the IPMI Web-Interface
Open a browser of your choice and connect to IPMI using HTTPS by entering the BMC IP address into your address bar.
Example: https://192.168.178.103
When trying to access this page your browser may inform you about a security risk.
You can safely acknowledge this warning by clicking the button "Advanced..." and then either "Accept the Risk and Continue" for Firefox or "Proceed to 192.168.178.103 (unsafe)" for Chromium.
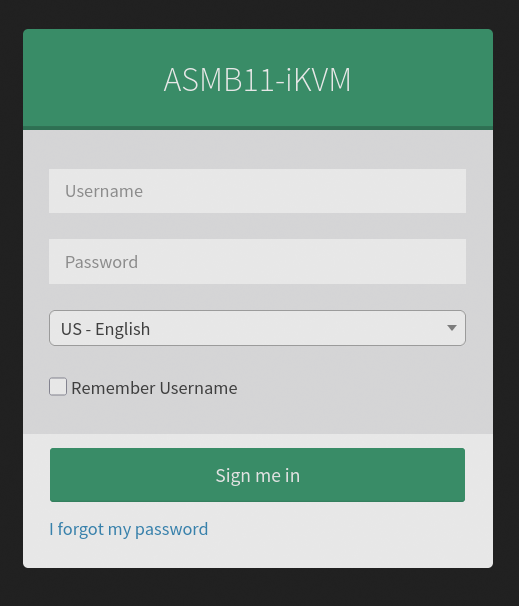
Now, login using the credentials noted on page 1 of this Quickstart Guide. The login screen should look like this:
2 Maintenance
IPMI allows administrators to update BIOS and BMC-Firmware remotely. It is recommended to regularly check and update to the latest available Firmware and BIOS Versions to ensure long term soft- and hardware-compatibility. The following guide will go through the procedure and should be applicable to most AIME Servers and Workstations.
2.1 Firmware Update
Navigate to "Maintenance" > "Firmware Update" and click the blue folder button to locate the update image.
This image should be in ".ima" or ".ima_enc" format.
Click on "Start firmware update".
You then get the option to select which parts of the configuration should be preserved during update:
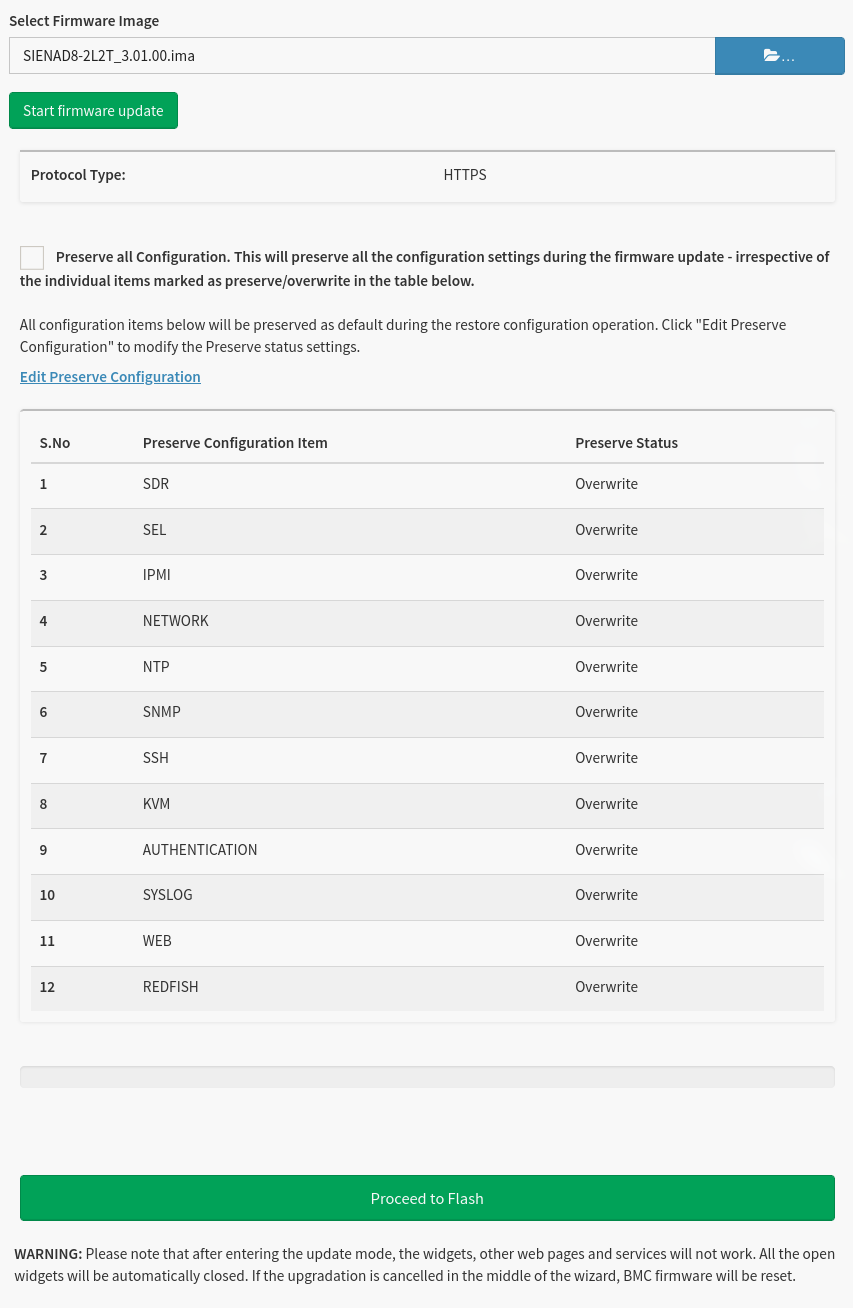
After preservation has been declared, click on "Proceed to Flash" and confirm the browser message:
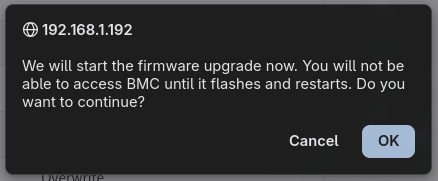
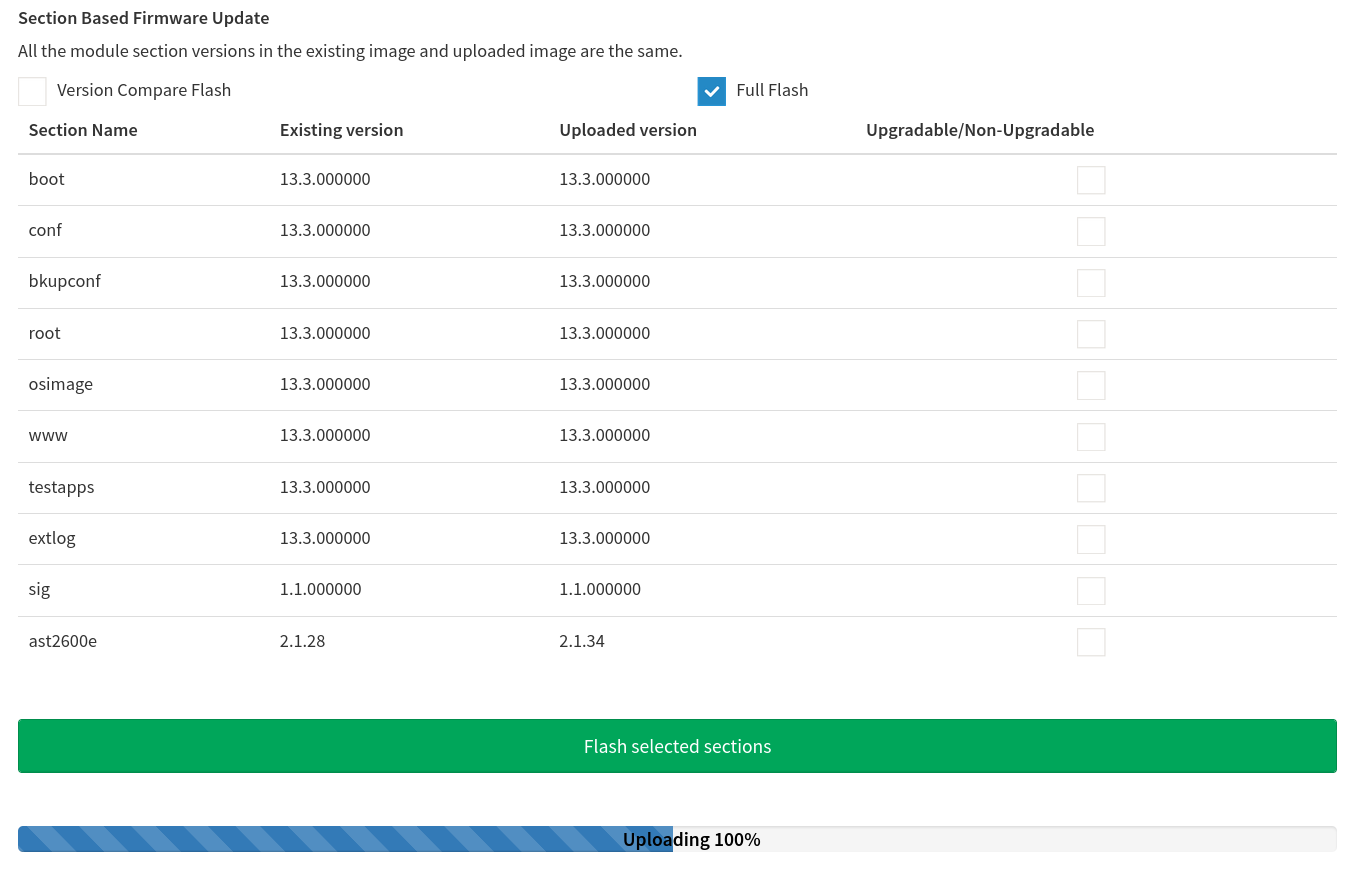
The Upload will start and count to 100%.
Next, you can select which sections of BMC to flash. This can be useful in specific scenarios where flashing of a specific section is necessary. If you are not sure what to do here, just leave "Full Flash" checked and proceed with clicking "Flash selected sections".
Confirm the browser message:
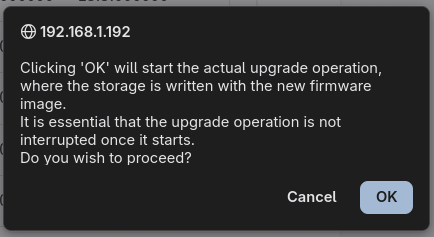
Do not refresh your browser session while the upgrade is in progress as you may risk permanently locking yourself out of BMC.
When the update process was successful you will get the following browser message:
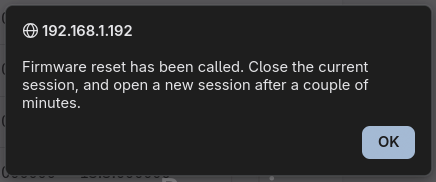
You can now refresh your browser session and login again. You will be asked to confirm the security risk again. (See section 1.2 Accessing the IPMI Web-Interface)
Username: admin
Password: admin
2.2 BIOS Update
Navigate to "Maintenance" > "BIOS (Forced) Update" and click "Browse..." to locate your update image.
This image should be in ".cap" format.
Click on "Start BIOS update".
Upload will start and count to 100%.
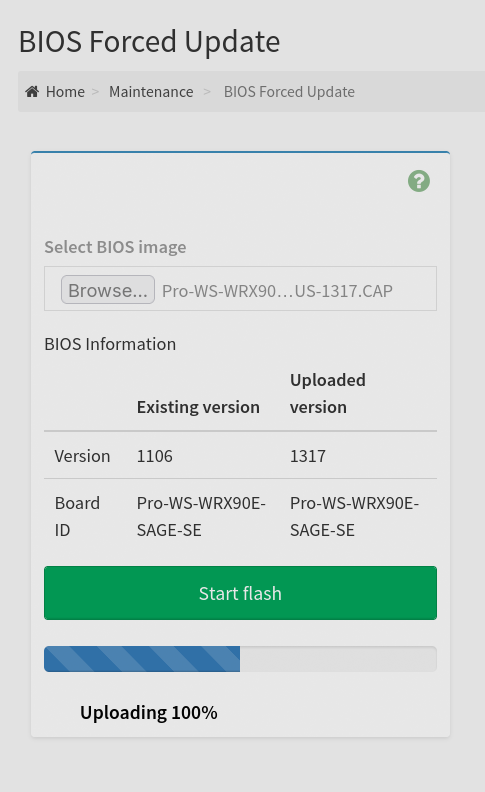
Then click on "Start Flash".
Do not power off or restart system during BIOS update procedure.
When the update process was successful, your browser will give the following message:
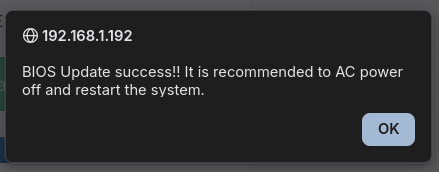
Lastly disconnect all power cables from the PSUs for 15 seconds as recommended for the changes to take effect.
2.3 Links to latest Firmware/BIOS
The latest BIOS and Firmware images can be found under these links:
2.4 Backup Configuration
Navigate to "Maintenance" > "Backup Configuration" and check the boxes corresponding to the configuration you would like to back up. Ideally you can "Check All" to save the entire configuration.
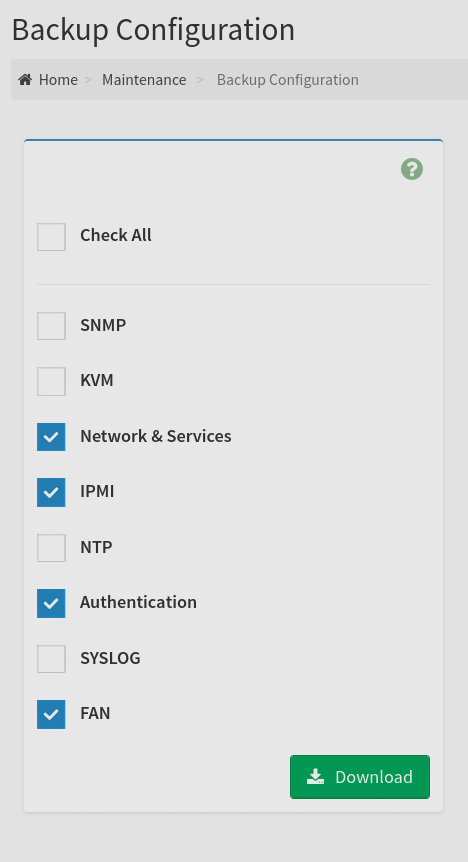
Then click on "Download" and you will get a "bmc-config.bak" file.
To restore your configuration, navigate to "Maintenance" > "Restore Configuration", click on the blue folder button and select your previously saved "bmc-config.bak".
3 Using ipmitool CLI
You also have the option of using the ipmitool CLI in a terminal. As of 2026, all AIME Machines come with ipmitool preinstalled.
If you want to reach BMC from another client via ipmitool, make sure the package is installed on that machine.
3.1 Check BMC Connectivity
ipmitool -I lanplus -H <IPMI_IP> -U admin -P password chassis status
3.2 Power Operations
# Power on
ipmitool -I lanplus -H <IPMI_IP> -U admin -P password power on

# Power off (graceful)
ipmitool -I lanplus -H <IPMI_IP> -U admin -P password power soft

# Power cycle
ipmitool -I lanplus -H <IPMI_IP> -U admin -P password power cycle

# Reset
ipmitool -I lanplus -H <IPMI_IP> -U admin -P password power reset
3.3 Sensor Data (Temp, Voltages, Fans)
# List all sensors
ipmitool -I lanplus -H <IPMI_IP> -U admin -P password sensor list

# Get specific readings
ipmitool -I lanplus -H <IPMI_IP> -U admin -P password sensor get "CPU Temp"
3.4 SEL (System Event Log)
# View logs
ipmitool -I lanplus -H <IPMI_IP> -U admin -P password sel list

# Clear logs
ipmitool -I lanplus -H <IPMI_IP> -U admin -P password sel clear
3.5 BMC/Network Configuration
# Get IP, MAC, netmask
ipmitool -I lanplus -H <IPMI_IP> -U admin -P password lan print

# Set static IP
ipmitool -I lanplus -H <IPMI_IP> -U admin -P password lan set 1 ipaddr 192.168.1.100

# Set gateway
ipmitool -I lanplus -H <IPMI_IP> -U admin -P password lan set 1 defgw ipaddr 192.168.1.1
3.6 Local IPMI (No Network)
If you're on the server locally, you can use the kernel interface:
ipmitool chassis status
ipmitool sensor list
3.7 Parameters
| Flag | Purpose |
|---|---|
-I lanplus |
Use IPMI over LAN (remote) |
-I open |
Use kernel driver (local) |
-H |
BMC IP address |
-U |
Username |
-P |
Password |
Summary
These are the most basic functions to work with IPMI. Using this guide, users should have a broad enough understanding of its basic features while being aware that IPMI comes with a wide variety of additional tools not mentioned here.